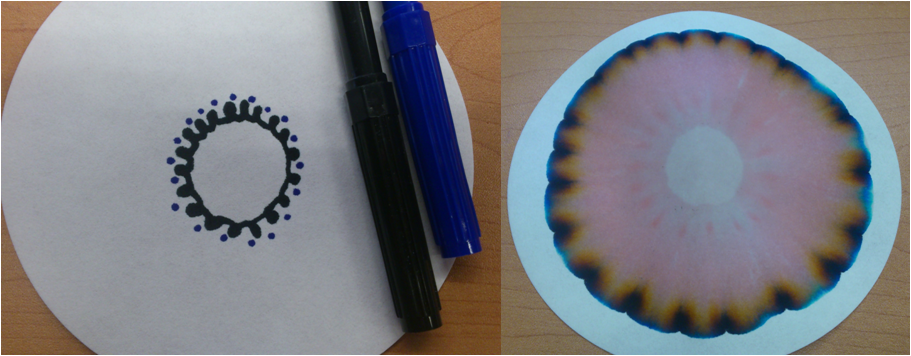
How to make Chromatography Flowers!

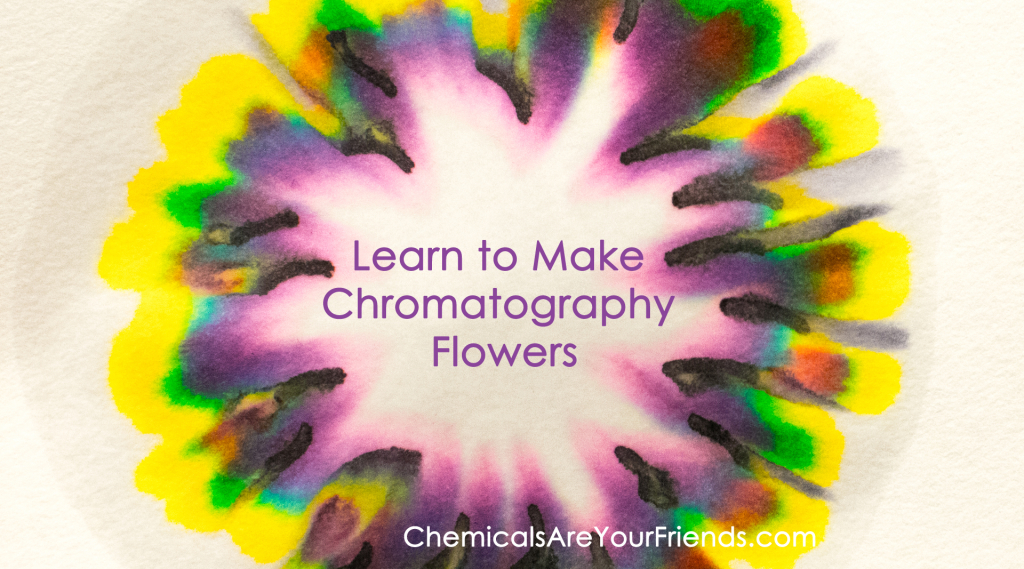
Chromatography Flowers are not just pretty, they’re a lot of fun, easy to create, cheap, and they are a creative way to teach kids about chemicals, as well as showcase an important way chemicals can be separated!

What are Chromatography Flowers?  

Chromatography is the separation of chemicals in a mixture, and Chromatography Flowers are a beautiful example of this technique! In chromatography there are two phases: stationary and mobile. The stationary phase is the material used to “catch” the chemicals, and the mobile phase is used to “carry” the chemicals along the stationary phase. In this case, filter paper is the stationary phase, and water is the mobile phase. As the mobile phase carries the marker ink along, the different chemical dyes that make up the marker(s) elute (or separate from the mixture), and they elute at different times because of their different chemical properties.

filter paper (I used qualitative filter paper from my lab, but you can use coffee filter paper as well. Try to get decent quality, more rigid coffee filters, and if you find a good brand/type that works please share!)

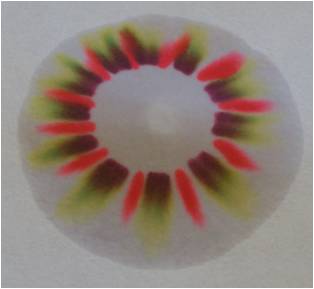
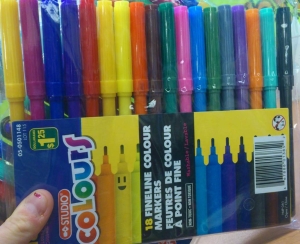
markers- The cheaper the better (like those to the right)! If you use nicer markers you may need a stronger solvent than water. In that case, you could try rubbing alcohol, but remember to keep safety in mind!

water

scissors

nickels

small cups/jars/bowls

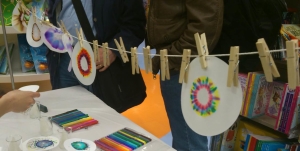
-if you are an educator, or if you are running a science demo, you may also want a couple of stands with posts (like retort stands), clothes pins and some string so you can hang up everyone’s art to display and dry, like shown below!

 What to do?

First set things up:

1. Fold up a piece of filter paper so that it comes to a point and can stand inside your cup/jar/bowl with the top sticking out. You may need to play around with this a bit depending on the shape of your filter paper and what you are placing it in. Then cut off a small part of the tip of the folded paper and make sure the narrow top is still sticking out of the container you’re using.  Note that you don’t need to cut off the tip of the folded filter paper, but if you cut it your flowers will “form” much faster, and they may even spread onto more of the paper.

2. Place the folded filter paper in your cup, jar or bowl (I used a beaker because that’s what I had handy in the lab!) and add enough water so that the bottom of the filter paper is immersed in water. You can reuse this set up to make as many chromatography flowers as you want, but repeat steps 1 and 2 if you want more than one flower “running” at a time.

Next comes the Chromatography Flowers!

3. Now comes the fun part! Take a new piece of filter paper, place a nickel (or something around the size of a Canadian or US nickel) at the center and use markers to draw a simple design around the nickel. You may think that more than one color of marker produces prettier flowers, but you might be surprised what one color can produce! I will show some examples towards the end of this post.

4. Once you’re done drawing, you can start the science! Take your filter paper with your drawing and place the center of it on top of the filter cone in the set up you made during steps 1 and 2. Watch the beautiful flower form as the water spreads across the filter paper. You may find that you need to hold the filter paper down with a nickel, like the feature photo shown at the top of this page. The flower is finished when the color reaches the edges of the filter paper or when you only see water moving along the filter paper.

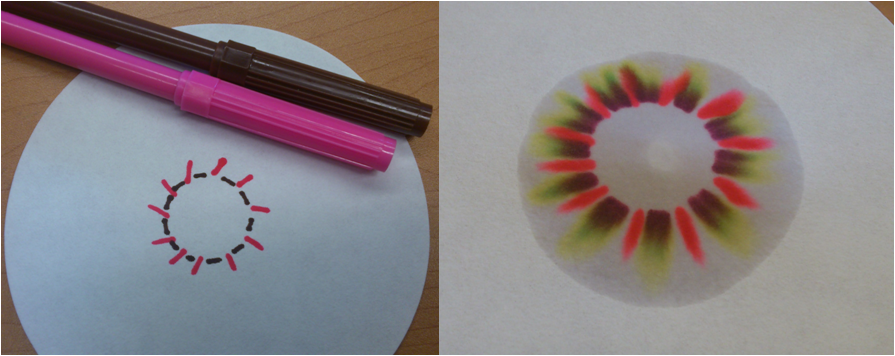
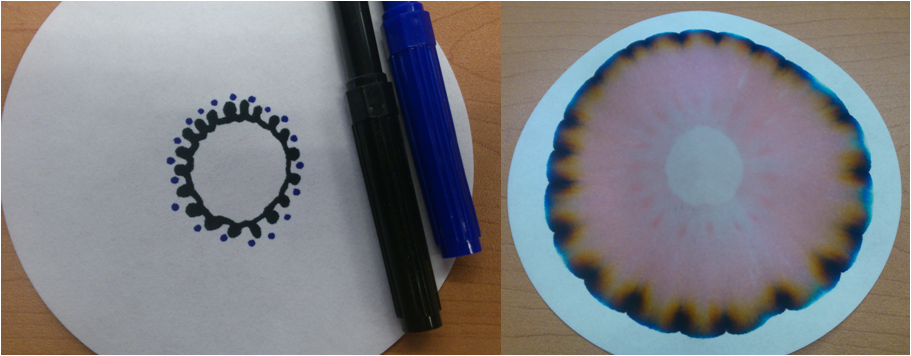
I mentioned earlier that you may be surprised by a Chromatography Flower created using only one color marker. Here are some neat examples!

Here are some more lovely examples!

All images are ©Chemicals Are Your Friends. Please contact us to ask permission to use them.

Tomato Juice Rainbow Explained

I recently joined up with C&EN News to create “Chem-Lapsed.” A series that uses time-lapses to showcase interesting chemical reactions.

The pilot episode features a reaction that is surprisingly not well-known, given its publication in 1986, and the relatively simple ingredients for a chemistry lab — the Tomato Juice Rainbow. It is a really fun demonstration for organic chemistry and spectroscopy!

Has it been a long time since you’ve picked up a chemistry textbook? I’ve explained the Tomato Juice Rainbow below the video, and I am always happy to answer any questions!

Tomato Juice Rainbow Explained

Here is a brief explanation of some of the really interesting things going on here that make this beautiful rainbow happen:

  1. The most obvious layer is the red layer, which is the tomato juice. The red color is from lycopene, which is a carotenoid like beta-carotene in carrots.
  2. The yellow color is the result of the chemical reaction between lycopene and bromine (from bromine water.) When bromine (or Br2) adds to lycopene, it removes double bonds, and this process is called oxidation.  As the number of double bonds in lycopene decreases, the color of light that it absorbs also changes so that we see yellow instead of red.
  3. The narrow test tube helps! The thicker parts of the liquid will stick inside the glass towards the bottom, and so the layers with different chemical compositions stay separated in what is called a density gradient.
  4. There is an interesting stage right before the oxidation is finished, and this is responsible for the blue color seen in the rainbow. This is actually REALLY cool. We are able to see this because the tomato juice is so thick* that it can hold this state long enough for us to see the blue color.
  5. The green layer is simply from the blue and yellow mixing.

Notes and Contact

Please note: unfortunately this beautiful experiment CANNOT be done in your home and CANNOT be consumed. It must be performed in the safety of a laboratory, and in the hands of an experienced chemist.  This is because of the bromine (or Br2) that is added. It is similar to the chlorine that is used to disinfect pools, BUT it is EVEN STRONGER than chlorine! You know how pungent the smell of chlorine is? Well molecular bromine can burn your nose! This demonstration is for the purpose of teaching students about organic chemistry in a more entertaining way than some of the less colorful methods, as well includes some interesting spectroscopy lessons. Of course in this case it is also used as art, but it was done in the hands of a chemist 😉

*note for the science inclined: thick due to the lipid cells, which is what holds the charge transfer state

In case you didn’t catch the link above, you can read the original scientific article by MacBeath and Richardson here.

All content was created by Dorea Reeser for Chemical & Engineering News and are  ©C&EN 2015.

If you have any questions about how this experiment was performed, how it was shot, any comments in general, or suggestions for future Chem-Lapsed episodes, Contact Dorea Reeser via: emailTwitterFacebook, or commenting here

Acknowledgements:

Thanks to Prof. Derek Jackson at York University for suggesting the Tomato Juice Rainbow experiment and for his advice!

Thanks to the University of Toronto, Department of Chemistry for their support and sponsoring this educational shoot

Our Favorite Chemical Reactions

Our latest The Collapsed Wavefunction podcast is up! I (Dorea) am not in it, but that is okay for TWO reasons!

  1. Our new co-host, Katie Pulsipher, joins Chad and Sam to talk about their favorite chemical reactions. We will FINALLY get to hear more from another lady on the show, and her joining us means that we can record MORE often! WOOHOO!!!
  2. The next time we record our favorite reactions means that we are recording MY favorite reaction, so it gets to be all about what I want. Maybe I should skip episodes more often if this is how I get what I want 😉